How to Extract a Frame From a YouTube Video, 5 Methods Compared
Browser, thumbnail, VLC, ffmpeg or an online tool. Five ways to pull a frame from a YouTube video, their pitfalls, and how to keep the quality.
 Franck Meyer ·
·
7 min read
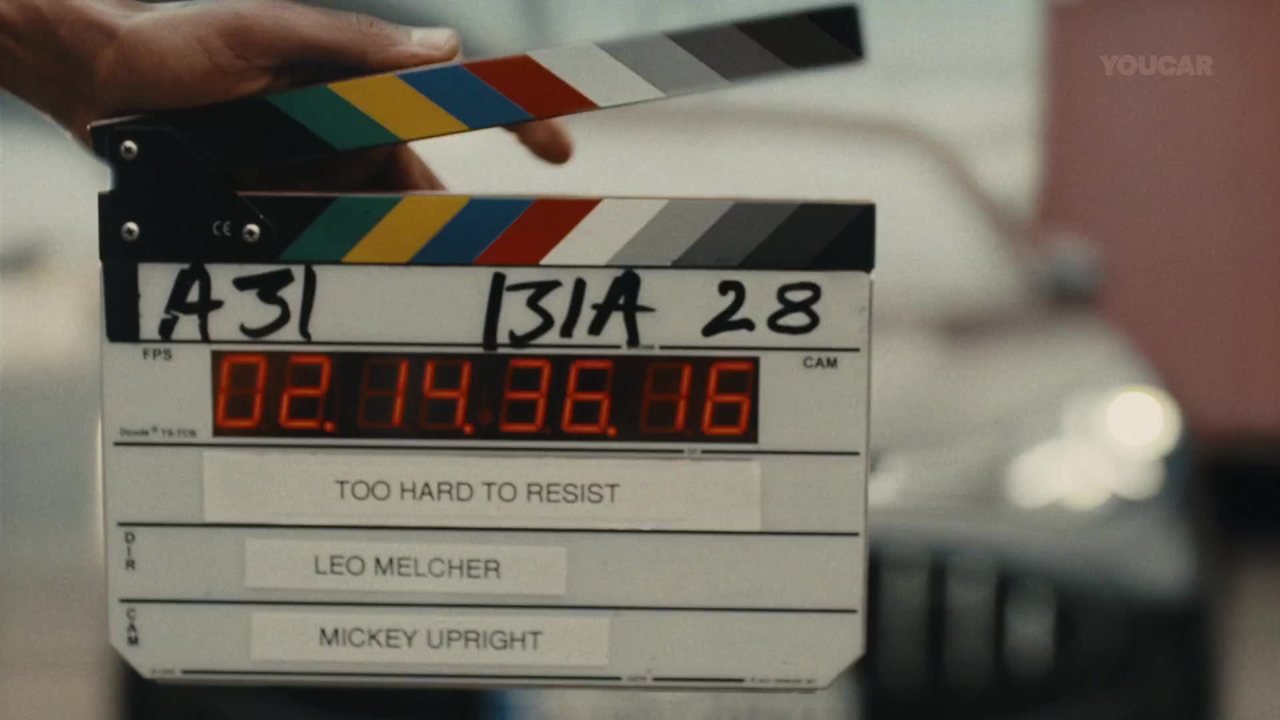
To extract a frame from a YouTube video, you have five serious options. Two really need nothing installed (the browser and the thumbnail). Two others, VLC and ffmpeg, are software that only read a file already on your computer. The last one goes through an online tool. Each has its pitfalls, and almost always the same enemy, compression.
A quick word on vocabulary before we start. A single image from a film is a frame. Edge calls it a "video frame" and Chrome a "video image." And the thumbnail, the cover image of a YouTube video, is not necessarily a frame from the video. More on that below.
Your browser already does the job
YouTube has no built-in tool to extract a frame. Your browser does. In Chrome, right-click twice in a row on the video. The first click opens YouTube's menu, the second one opens the browser's menu. Choose "Save video frame as." The file is saved as a PNG.
In Edge it works the same way, with "Save video frame as" or "Copy video frame." If you want a JPG, choose "Copy video frame" in Chrome, paste it into an image editor like Paint and export. My advice is to keep the PNG. The file is heavier, but it doesn't add compression artifacts to an image YouTube has already compressed.

The image you get depends on the playback quality at that moment. Before capturing, go to Settings > Quality and pick the highest resolution. After pausing, wait a second for the image to sharpen. It sounds obvious, but it's the number one cause of blurry frames in moodboards.
Finding the right frame, one frame at a time
Nobody pauses at the right moment on the first try. YouTube has a fix. Once the video is paused, the period key (.) steps forward one frame and the comma key (,) steps back one frame. These shortcuts only work on desktop, in the browser, and only while paused.
This is where you gain quality. In fast motion, the frame you land on by chance is often blurry. By stepping frame by frame, you pick the sharpest one. Same thing for text that only appears on screen for a split second.
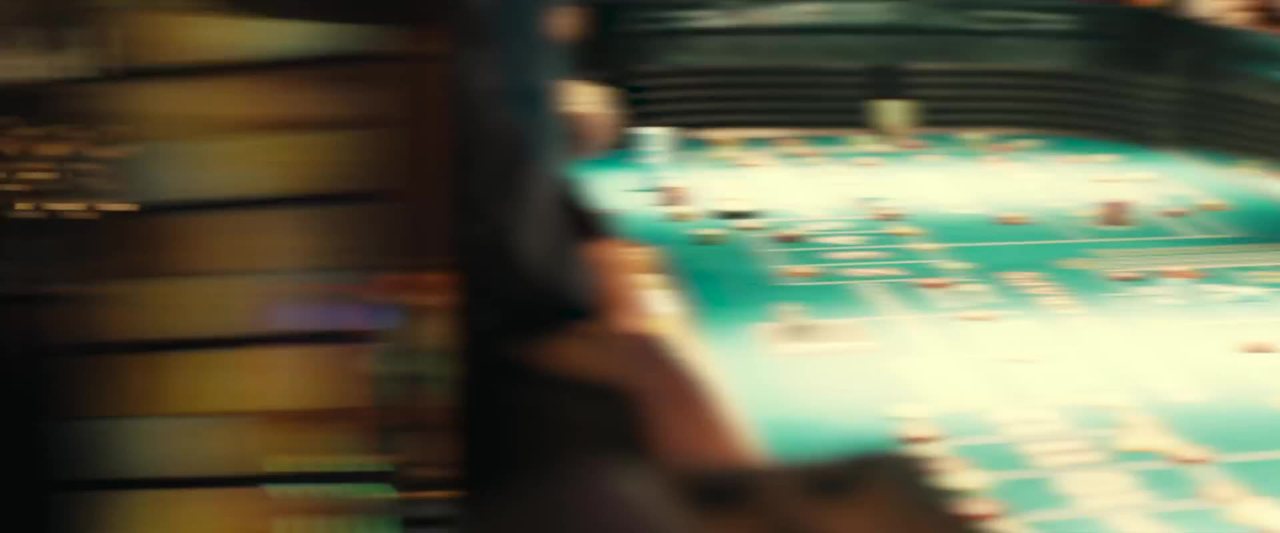
This frame from Imagine Dragons' Sharks video, around 01:11, comes from a random pause in the middle of a movement. The silhouette is nothing but a blurry streak. With the period and comma keys, you look for the sharp frame a few frames further on. With a mouse pause, you take whatever comes.
The thumbnail is handy, but it isn't the video
If you want the cover image, you don't need a player at all. It lives at i.ytimg.com/vi/VIDEO_ID/maxresdefault.jpg, where you replace VIDEO_ID with the video's 11-character ID (the part that follows "v=" in the URL).
Three limits to know. The maxres version is the biggest one publicly available, at 1280 × 720, so no 4K here. Older or low-resolution videos often don't have this version, and the URL then shows a small gray image instead of an error. Finally, only the maxres and mq versions are 16:9. The others are 4:3, with black bars at the top and bottom.
Above all, a thumbnail is often an image made to get you to click. It doesn't necessarily match a shot from the film. To analyze framing or lighting, it's the wrong source.
VLC, when you already have the file
VLC doesn't play YouTube directly for this kind of work. You need the file. If it's your own project, start from your original export, it will always beat the version re-encoded by YouTube. For someone else's video, read YouTube's terms of service first, since they govern downloading.
Once the file is open, you capture with Shift+S on Windows and Linux, Cmd+Alt+S on Mac, or through the Video > Take Snapshot menu. On Windows, the image goes to Pictures/VLC as a PNG. You can change the folder in Tools > Preferences > Video. JPG is available for lighter files, but for quality, stay with PNG.
To aim precisely, the "Frame by frame" button in the advanced controls steps forward a single frame. And if you want a series, the "Scene filter" (Advanced preferences > Video > Filters) automatically saves images during playback. The classic mistake is forgetting to turn it off. VLC then keeps saving images for every video you play afterward, and you find your drive full of PNGs from a TV episode you watched in the evening.
ffmpeg, for extracting in bulk without clicking
ffmpeg runs on the command line, it also works on a local file, and it's the most precise tool on the list. For a single frame at 5 seconds, the command is the following.
ffmpeg -ss 5 -i input.mp4 -vframes 1 output.png
For one frame per second, use the fps filter. Replace fps=1 with fps=1/5 for one frame every 5 seconds.
ffmpeg -i input.mp4 -vf fps=1 output_%04d.png
The %04d numbers the files. Without numbering, each image overwrites the previous one and you end up with a single file. To extract every frame without exception, add -fps_mode passthrough, otherwise ffmpeg may duplicate or drop frames on some files.
The position of -ss matters. Placed before -i, it's very fast, but several sources indicate that ffmpeg then jumps to the nearest keyframe, which isn't necessarily the exact moment you asked for. Placed after -i, it's more precise, but ffmpeg decodes every frame from the start. On a 2-hour file, you go from a few milliseconds to several minutes. If your frame comes out off, that's the first thing to check.
Two last settings. If you output JPG and the image is too compressed, add -q 2 or switch to PNG. And be wary of tutorials that present -ss 10 as extracting every 10 seconds. That option only sets the starting point, the interval is set with fps.
Online tools, and where they fall short
This is the simplest route when you don't want to install or download anything. Some sites ask for the video link and output a limited number of frames, often around thirty on the free tier. Others have you upload your own file, then you choose a specific moment or an interval, and the format (PNG, JPG or WEBP).
The limits are predictable. Free quotas run out fast, quality depends on the service, and with some of them you're sending your files to a third party. If it's a client video that hasn't been released yet, check where the service stores your file and how long it keeps it. Your client will want to know where their images went.
The other limit is the fixed interval. One frame every 5 seconds misses short shots and multiplies duplicates on long ones. For a shot breakdown analysis, what matters is the cut. In Scenorama, paste the link and choose extraction by shot change, and you get one frame per shot instead of an arbitrary grid.
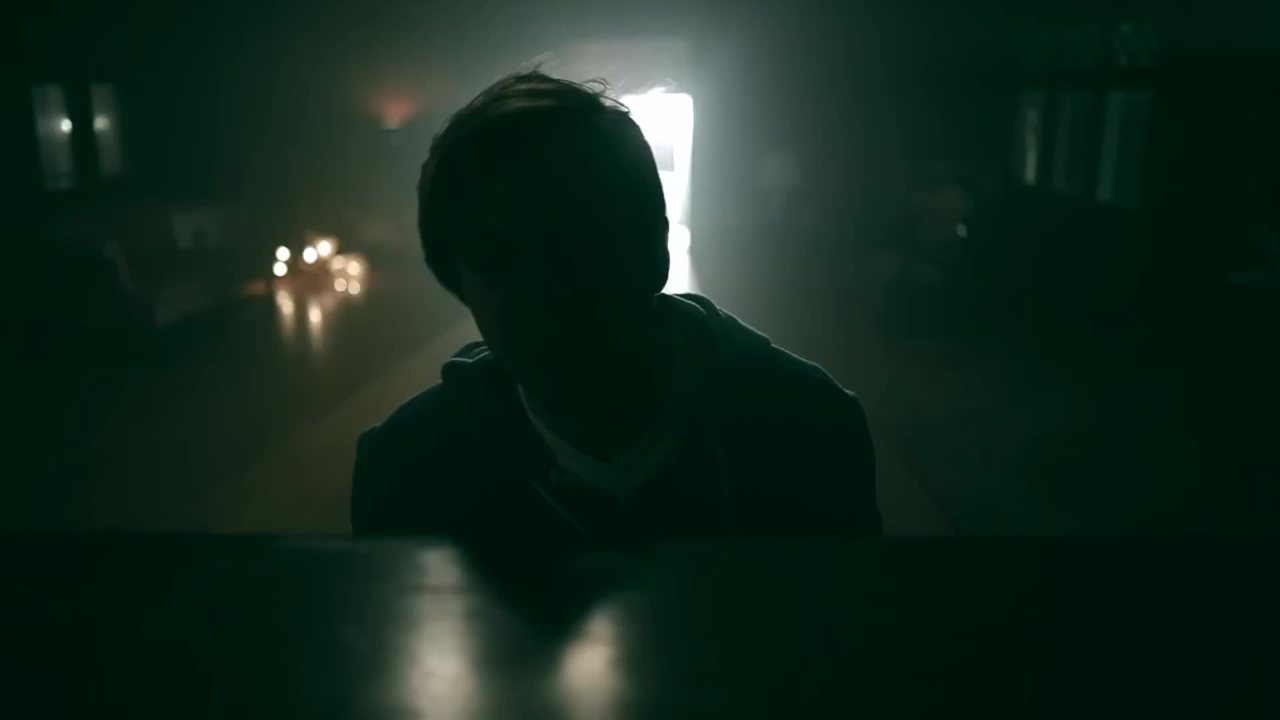
What keeps a frame clean, whatever the method
The same mistakes come up everywhere. Here are the ones that cost the most.
- Saving as JPG out of habit when PNG avoids one more round of compression.
- Capturing while the video is still playing at low resolution.
- Mistaking the thumbnail for a shot from the film.
- Leaving VLC's Scene filter on.
- Forgetting file numbering with ffmpeg.
One last point, a legal one. A publicly accessible image gives you no right to reuse it, copyright still applies. For an internal moodboard, the question rarely comes up. If you're publishing on a blog, look into the fair use rules that apply where you are (the article cited in the French original is L122-5 of the French Intellectual Property Code).
Next time you spot a shot you like, don't take a screenshot. Push the quality to the max, pause, step back a few frames with the comma key, step forward with the period key to the sharpest one, then save as PNG from Chrome's menu. Compare it with your usual capture. The difference is obvious right away.
Frequently asked questions
Can you extract a frame from a YouTube video on a phone?
The frame-by-frame shortcuts (period and comma) only work on desktop, in the browser. On a phone, you're left with a regular screenshot or an online tool where you paste the video link.
PNG or JPG, which format should you choose for a frame?
PNG is a lossless format. It's heavier but doesn't add compression artifacts. If you have to output JPG with ffmpeg, use the -q 2 option to limit the damage.
Why is the thumbnail I got gray or showing black bars?
A small gray image means the maxresdefault version doesn't exist for that video, which often happens with older or low-resolution videos. The black bars come from the 4:3 versions, since only maxres and mq are 16:9.
Am I allowed to reuse frames extracted from a YouTube video?
Copyright still applies, even if the image is publicly accessible. Before publishing, look into the fair use or quotation rules that apply where you are (the French original cites article L122-5 of the French Intellectual Property Code), and read YouTube's terms of service, which govern downloading.
Try it on your own video
Paste a YouTube, TikTok, Instagram or Vimeo link. Scenorama extracts the frames, you annotate them and export your moodboard as a PDF.
Franck MeyerVideographer, Founder of Scenorama